

Project guide
Refinish a tub, sink or tile surround with Homax Tough as Tile
Tough as Tile goes on over a worn tub, sink or tile surround, with no stripping. Most of the work is prep: clean, dull, mask and coat, then a full cure before water and a fresh caulk strip on the joints.
By the editors of Homax Repair Guide · Published October 3, 2026
A chipped, yellowed tub usually sits in a bathroom that is otherwise fine, and replacing it means tearing out tile and plumbing. Homax Tough as Tile is a coating you put on top of the old surface instead. The brush-on kit is a one-part, high-gloss finish with nothing to mix, and the spray-on kit is an epoxy enamel in two 16 oz cans. The brush kit names fiberglass, porcelain, glazed ceramic tile, countertop laminate, china and acrylic as surfaces it works on.
Tough as Tile is a coating, not a stripper. You never take the old finish off. You clean it, dull it and coat over it. That matters, because the products tied to the deaths of bathtub refinishers were methylene chloride strippers, and we explain below why none of them belongs in your bathroom. Plan on a day of prep and coating, then the 48-hour cure the brush kit names before the tub sees water. With the caulk and the cleanup, it fills a weekend.
What you need
Tools
- Utility knife
- Bucket, sponges and clean towels
- Box fan for the window
- Work light or flashlight
- Safety glasses
- Drop cloths
Materials
- Homax Tough as Tile Brush-On Tub and Tile Refinishing Kit
- Homax Tough as Tile Spray-On Tub and Tile Refinishing Kit
- Homax Caulk Remover Tool
- Homax Tile Guard Tile and Grout Cleaner
- Homax Extra Wide Peel and Stick Caulk Strip, 1-5/8 in
- Homax Floor and Tub Caulk Strip, 1-1/4 in
- Homax Tread-Tex Anti-Skid Paint Additive, 16 oz
- Painter's tape and plastic sheeting
- Fine wet-dry sandpaper
Step by step (8)
Step 1
Pull out the old caulk
- Run the Homax caulk remover along every joint where the tub meets the tile or the wall, working it forward and back to lift the old bead.
- Its sharp angled tip digs into corners and cleans up the film left along the edges, and it will not scratch the hard surface you are about to coat.
- Any caulk you leave behind ends up under the new finish, right where the new strip has to stick later.
Step 2
Clean the surface twice
- Scrub the tub with the prep cleaner from the kit, following the directions on its bottle, then rinse until the water runs off without beading.
- On a tile surround, Homax Tile Guard Tile and Grout Cleaner is a non-acid, non-abrasive concentrate that cuts soil and hard water build-up in the grout lines.
- Dry the tub and tile with clean towels and leave the window open while every joint and the drain area air out.
Step 3
Dull the old gloss
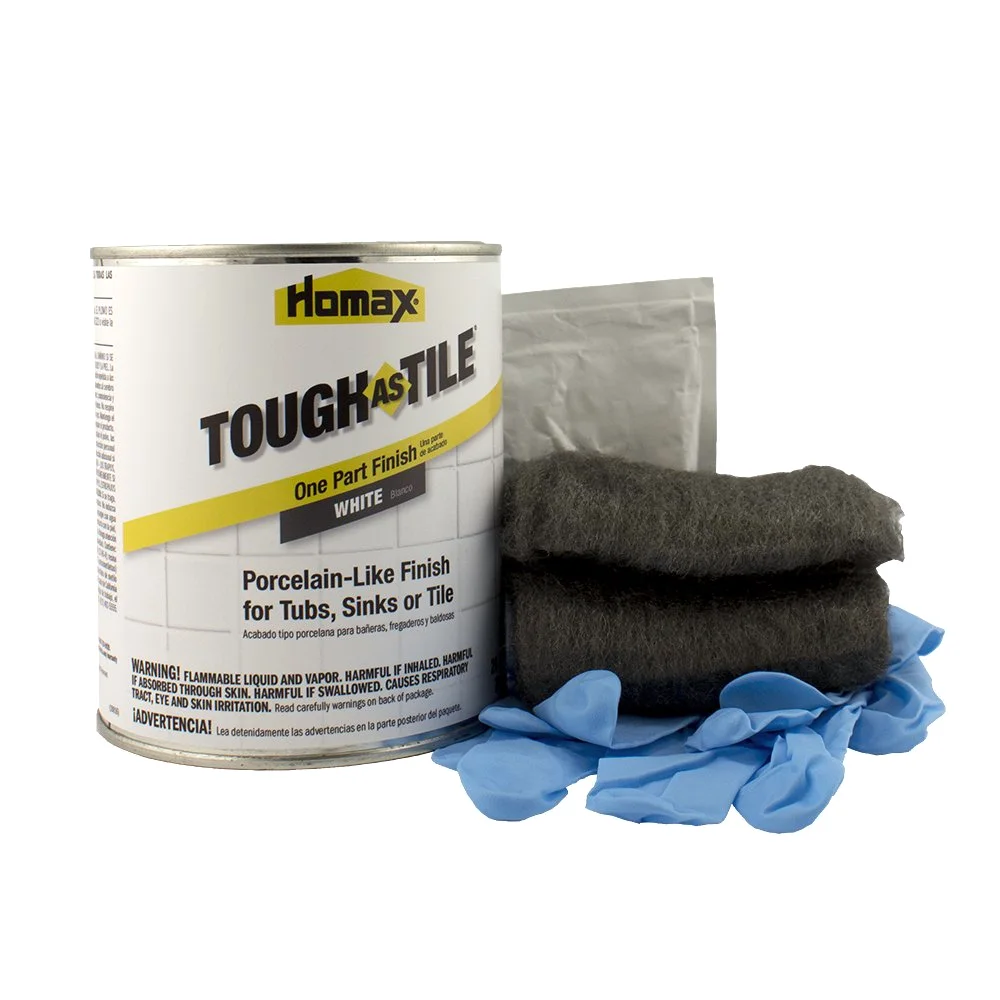
- Rub the whole surface with the steel wool from the kit until the old shine turns dull and even.
- Where the label calls for sanding, use fine wet-dry sandpaper and keep it wet, which holds down the dust and keeps the paper from clogging.
- Rinse off the slurry, wipe with a damp cloth and dry again. Grit left in the tub ends up in the finish.
Pro tip: Run a flashlight low across the tub after sanding. Shiny patches show up as bright streaks, and those are the spots you missed.
Step 4
Mask the room and move the air
- Tape off the faucet, the drain, the overflow plate and the wall above the tile line, and lay plastic over the floor and the vanity.
- Set a box fan in the window blowing out and keep children and pets out of the room until the job and the cure are done.
- Read the label and the safety data sheet before you open the can. They name the gloves, the eye protection and any respirator the product calls for.
Pro tip: With the spray kit, mask the mirror, the towel bar and the toilet too. Overspray drifts farther in a small room than you expect.
Step 5
Lay on the finish
- Put on the gloves from the kit and prepare the finish exactly as its label directs. The brush-on finish is one part, so there is nothing to mix.
- Brush it on in long strokes from the top edge down and let it settle. The finish resists drips and sags, and it levels out the brush marks as it flows.
- With the spray kit, hold the can at the distance printed on it and build thin passes instead of one heavy coat.
- Recoat only within the window on the label, and work from the far end of the tub toward the door so you never reach across wet finish.
Pro tip: Aim a work light at the tub wall from the side. Thin spots and runs show the moment the light rakes across them.
Step 6
Leave it alone for the cure
- Keep water off the brush-on finish for its full 48-hour cure. For the spray kit, wait the time on the label.
- Tape a note over the faucet handles so nobody turns them on out of habit.
- Keep the window fan running while any smell lingers in the room.
Step 7
Seal the joints with caulk strip
- Once the finish has cured, run a peel-and-stick caulk strip along the joint where the tub meets the wall.
- The extra wide Homax strip is 1-5/8 in by 11 ft, with a molded-in score line that lines it up against the surface, and its listed full cure time is 12 hours.
- Where the tub meets the floor, the floor and tub strip is 1-1/4 in by 5 ft and fills gaps up to 1/4 in.
- Press each strip down firmly from one end to the other with a clean, dry cloth.
Step 8
Put the leftovers away properly
- Leftover finish stays in its own labeled can with the lid sealed, never in a food jar and never mixed with another product.
- Do not pour it or rinse the brush into a drain, onto the ground or into a storm sewer. Take the can to your local household hazardous waste collection.
- An empty can may still hold residue, so it goes to the same collection.
Tough as Tile is a coating, not a stripper
Some bathtub refinishers start by stripping the old finish with a chemical remover, and that step has killed people. A 2013 hazard alert from OSHA and NIOSH counts at least 14 worker deaths since 2000 linked to stripping bathtubs with methylene chloride products. The vapors collect in the bottom of the tub, in small bathrooms with little air. As little as six ounces of such a product has been enough to cause death. The alert also found that bathroom fans and open windows do not give adequate ventilation against those vapors.
Tough as Tile strips nothing, and the alert is about strippers, not about coating kits. The rule for you is short. Do not take the old finish off with a paint stripper, and never use one that contains methylene chloride. EPA ended its distribution for consumer paint and coating removal after November 22, 2019, and its April 2024 final rule prohibits it for all consumer uses. If an old can is still in your garage, EPA asks you to stop using it and to get disposal instructions from your local waste agency.
For the coating itself, the label and its safety data sheet decide the gloves, the eye protection and the respirator. Read both before you open the can, and follow them over anything you read here.
Brush-on or spray-on
The brush-on kit puts everything for one tub in one box: a 21 oz can of one-part finish, steel wool, a prep cleaner, gloves and a brush. It covers one standard tub or two bathroom sinks. The finish levels itself to a high gloss, so you can work slowly and still end with a smooth surface.
The spray-on kit is two 16 oz aerosol cans of epoxy enamel, 32 oz in all. Spraying lays an even coat over tile and around fixtures, but it puts mist into the air of a small room, so the masking and the window fan matter more. Each kit has its own label, and that label is the one to follow.
Your skin and the air in the room
NIOSH names epoxy and acrylic resins among the compounds that cause allergic contact dermatitis. Once a person is sensitized, the skin reacts on each new contact, so a splash you shrug off on the first project can flare on the second. Wear the gloves from the kit, keep your sleeves down, and follow the label on how to clean finish off your skin.
The air needs the same care. EPA lists paints, solvents and aerosol sprays among sources of VOCs and says levels of several organics average 2 to 5 times higher indoors than outdoors. Its advice is more ventilation, following the precautions on the label, and buying only what you will use soon. Partly full cans go to a community collection, not into the trash.
A glossy tub and the people who use it
A fresh high-gloss finish is smooth, and the tub is already the riskiest spot in the bathroom. CDC researchers estimated 234,094 nonfatal bathroom injuries among people 15 and older in 2008. Falls caused 81.1 percent of them, the highest rate was in or around the tub or shower, and rates climbed steeply with age.
The same report suggests non-slip strips in the tub or shower and grab bars inside and outside it. Before you stick anything to the new surface, read the strip's label and the finish label for how long to wait. For a painted floor or step elsewhere in the bathroom, Homax Tread-Tex is an anti-skid paint additive that puts grit into the coat. Whether a given coating takes an additive is a question its own label answers, so read it before you stir any in.
| Detail | Brush-On kit | Spray-On kit |
|---|---|---|
| What you get | One 21 oz can, steel wool, prep cleaner, gloves and a brush | Two 16 oz aerosol cans, 32 oz in all |
| Finish | One part, high gloss, self-leveling | Epoxy enamel, gloss |
| Mixing | None | As the label directs |
| Surfaces named | Fiberglass, porcelain, glazed ceramic tile, countertop laminate, china, acrylic | Tile, plus what the label lists |
| Coverage | One standard tub or two bathroom sinks | The coverage on the label |
| Cure before water | 48 hours | The time on the label |
Both Tough as Tile kits, the caulk strips and the caulk remover are part of the Homax lineup.