

Project guide
Match Orange Peel or Knockdown Texture with Homax Cans
A smooth patch on a bumpy wall shows from across the room. A can of spray texture, a sheet of cardboard and a wide knife put the pattern back, so the repair blends in once the wall is painted.
By the editors of Homax Repair Guide · Published October 3, 2026
Most texture work starts after the real repair is done. You filled a doorknob hole or a crack, sanded it flat, and now a bald spot sits in the middle of a textured wall. Paint alone will not hide it, because light picks up a change in surface long before it picks up a change in color. The fix is a light coat of spray texture, shaped to match the wall around it.
These cans copy two patterns. Orange peel looks like the skin of the fruit: a fine, bumpy spatter left exactly as it was sprayed. Knockdown starts as a heavier spatter that you flatten with a knife while it is still soft, which leaves flat islands with low valleys between them. Shine a flashlight along your wall from the side before you buy a can, because the pattern decides which one you need.
What you need
Tools
- Drop cloth and painter's tape
- Scrap cardboard or a drywall offcut for test sprays
- Wide drywall knife, 8 in, or the knockdown tool from a touch-up kit
- Fine sanding sponge
- Dust mask and safety glasses
- Bucket of water and clean rags
- Paint roller or brush
Materials
- Homax Orange Peel Wall Texture, Water-Based
- Homax Color-Changing Orange Peel Wall Texture
- Homax Orange Peel Wall Texture, Oil-Based
- Homax Knockdown Wall Texture, Water-Based
- Homax Pro Grade Orange Peel Texture, Water-Based
- Homax Pro Grade Knockdown Texture, Water-Based
- Homax Wall and Ceiling Texture Touch-Up Kit
- Drywall primer
- Interior paint matched to the wall
Step by step (7)
Step 1
Finish the patch flat
- Fill and sand the repair until it sits flush with the wall, because spray texture copies every ridge underneath it.
- Sand with a fine sponge, then wipe the dust off with a damp rag before you spray anything.
- Joint compound dust irritates the eyes, nose and throat, so wear a mask and glasses and close the door to the rest of the house.
Pro tip: Leave the old texture around the patch untouched. A repair that fades out into existing bumps blends far better than one that ends at a crisp bald circle.
Step 2
Mask the area and read the can
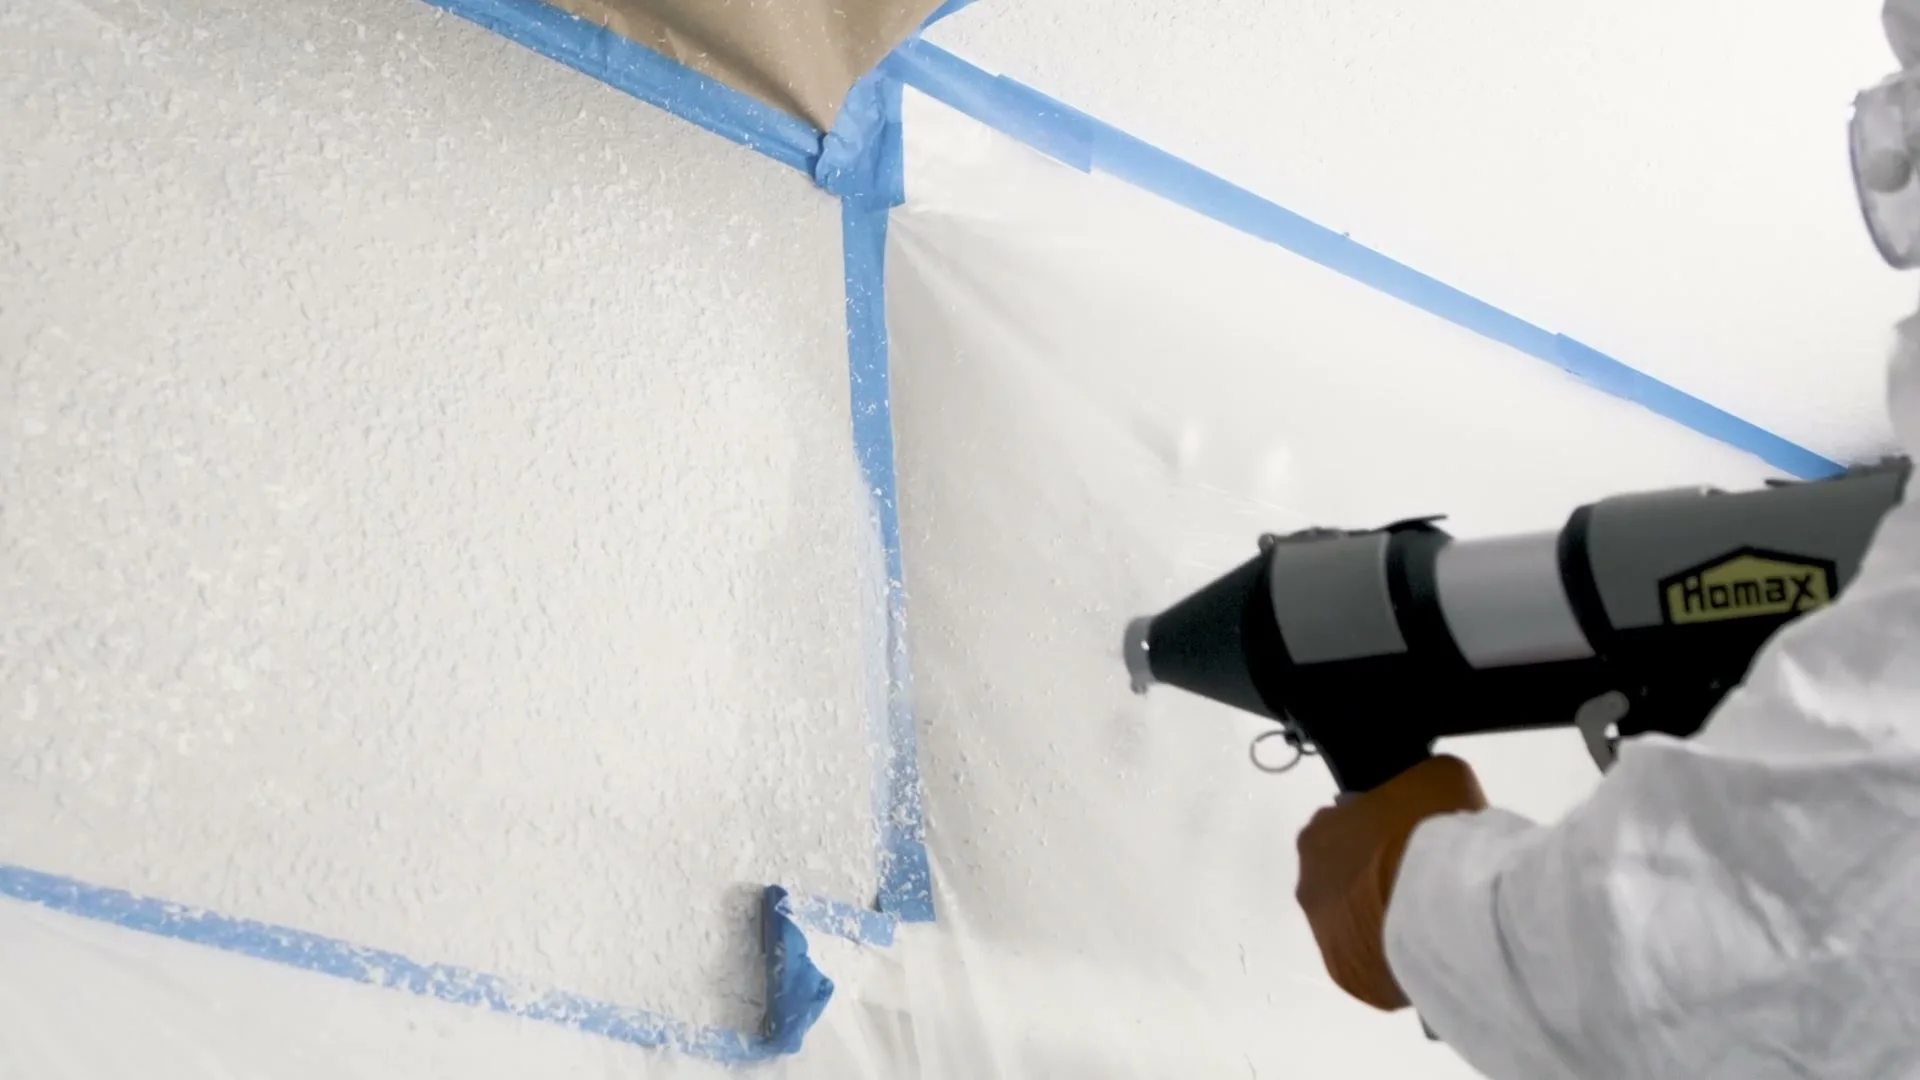
- Spray texture drifts farther than you expect, so cover the floor below and tape plastic over trim, outlets and switch plates within a few feet.
- The water-based cans are labeled low odor. The oil-based orange peel carries a California Proposition 65 warning, so read its label in full and open a window before you start.
- Mind the temperature as well. The oil-based orange peel can lists an application range of 60 to 85 degrees Fahrenheit.
Step 3
Shake the can and set the nozzle
- Shake every can hard before the first burst and again between passes, as its label directs.
- The Pro Grade water-based orange peel asks for a full minute of shaking with the can upside down, and continuous shaking while you spray.
- On the standard orange peel cans you choose the pattern by rotating the nozzle, from fine to heavy.
- Pro Grade cans add a trigger grip and separate settings for the spray tip and the pressure, which is closer to how a hopper gun behaves.
Pro tip: If a Pro Grade can sputters or spits, its label suggests soaking it in warm water for 15 to 20 minutes before you shake it again.
Step 4
Test on cardboard first
- Tape a sheet of cardboard to the wall near the repair and spray a few short passes at the setting you guessed.
- Step back to arm's length and compare the dots with the wall, then turn the nozzle a step finer or heavier and spray again.
- Keep the sample that matches. Hold it beside the patch when you spray for real and copy it by eye.
Pro tip: Spray from the same distance every time. Moving closer makes the dots bigger and wetter, and you may blame the nozzle for it.
Step 5
Spray the patch in light passes
- Hold the can upright and sweep across the patch in quick strokes, starting and stopping beyond the edges of the repair.
- Carry the spray a few inches into the surrounding texture so no ring forms where new meets old.
- Stop before it looks finished. A second light pass after a short wait is easier to judge than one heavy coat that sags.
Pro tip: On a white wall, the color-changing orange peel can earns its place. It goes on blue and dries white, so you can see where the spray landed and when it is ready for paint.
Step 6
Knock it down at the right moment
- For knockdown, spray a heavier spatter, then wait until the wet shine leaves the tops of the blobs.
- Hold a wide knife almost flat and drag it lightly across the patch in one direction, with no downward pressure.
- Too early and the blobs spread into a smooth film. Too late and the knife only scrapes off the tips, so let your cardboard sample tell you the timing for that can in that room.
Pro tip: Wipe the knife clean after every pass. A loaded blade drags wet texture into the flat areas you just made.
Step 7
Prime and paint
- Let the texture dry for the time on the label. The oil-based orange peel lists five minutes to tack free, and each of the other cans prints its own time.
- The standard cans tell you to prime and paint over the dry texture. The Pro Grade cans are labeled no-prime, so paint can go straight on.
- Roll paint out to the nearest corner rather than over the patch alone, since a fresh square of paint stands out on an old wall even when the texture matches.
Standard cans or Pro Grade
Standard cans hold 10 to 20 ounces. You aim them like spray paint and change the pattern by turning the nozzle. For a patch the size of your hand, that is all the control you need, and the 10-ounce water-based orange peel can covers up to 90 square feet according to its label.
Pro Grade cans hold 25 ounces and add a trigger handle with separate controls for the spray tip and the pressure. That second control matters on a heavy or uneven texture, where both the size of the dots and their spread have to match. The oil-based Pro Grade orange peel lists coverage up to 125 square feet, enough for a run of repairs down a hallway.
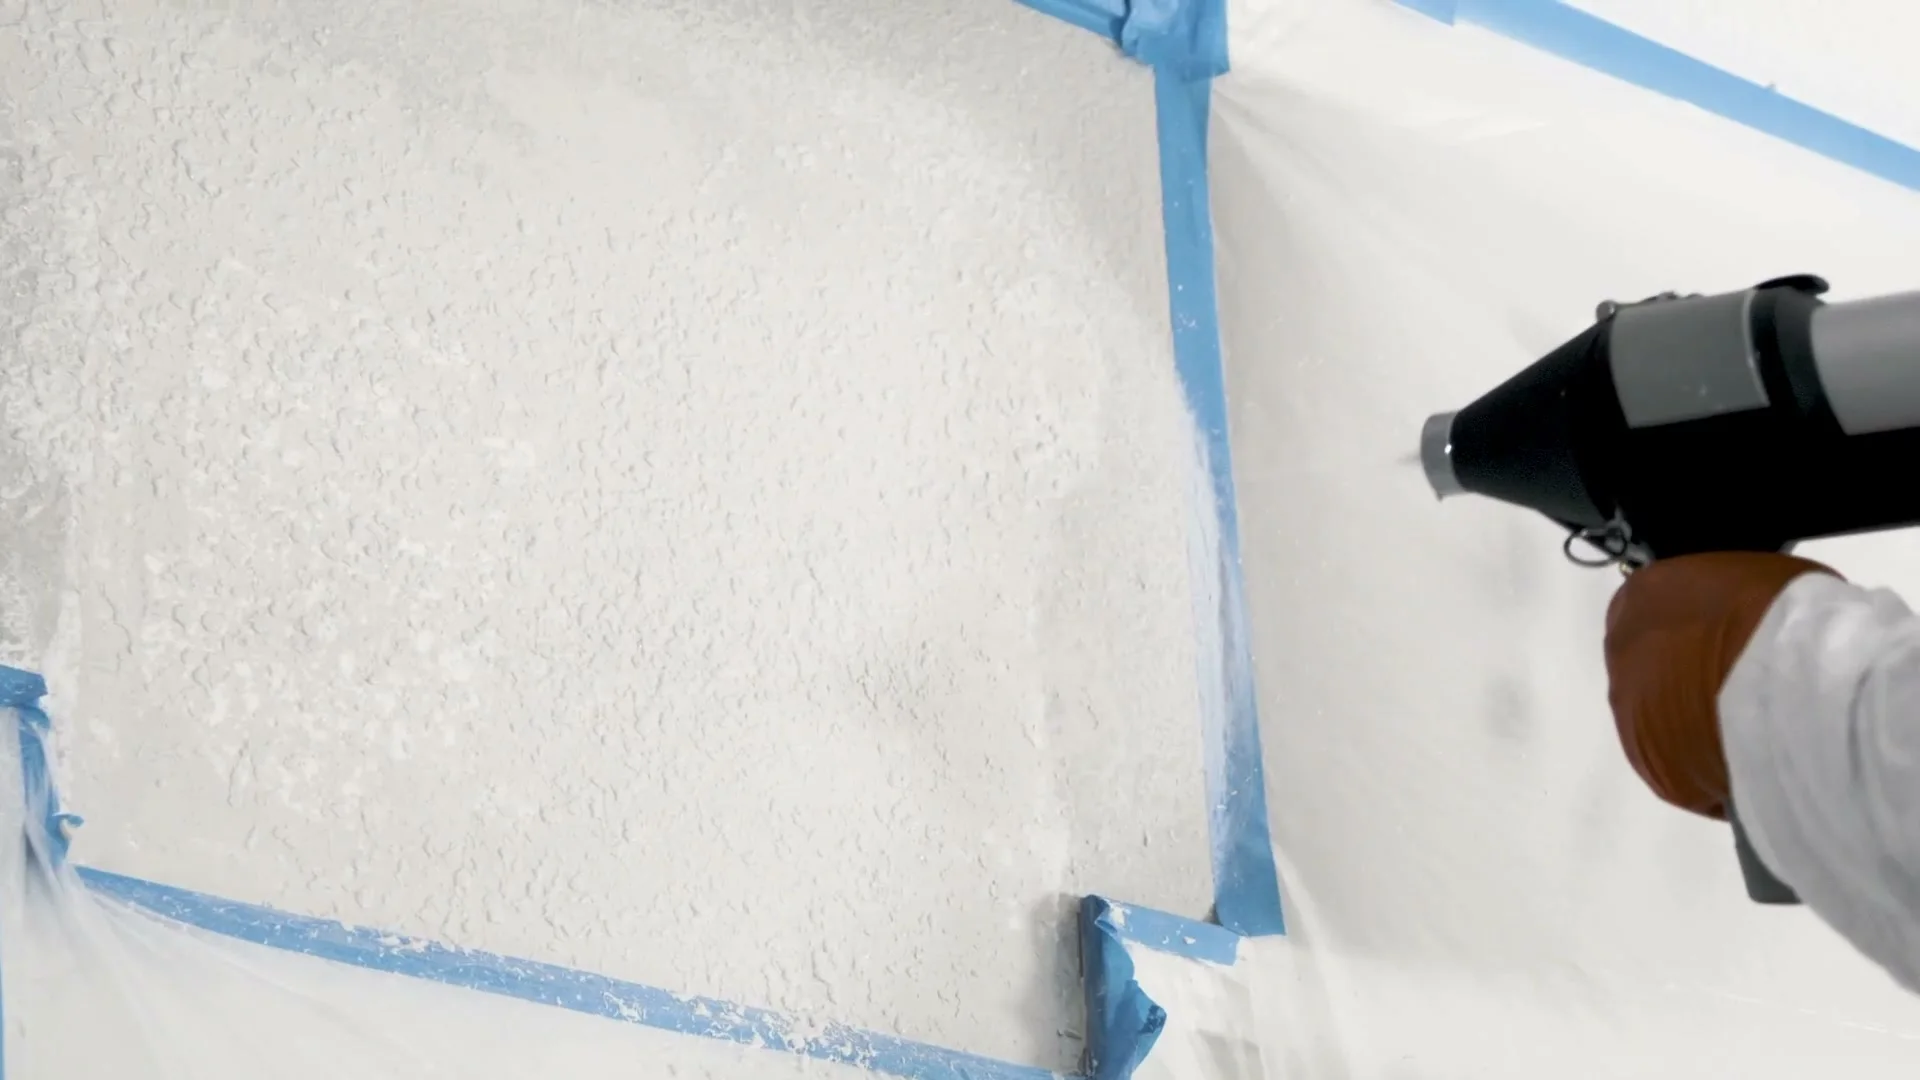
For a ding too small to justify a can, the Wall and Ceiling Texture Touch-Up Kit packs a reusable hand sprayer, a 9.2-ounce wall and ceiling dry mix that covers up to 15 square feet, and a small knockdown knife. Its sprayer adjusts for orange peel, splatter and knockdown.
Water base or oil base
Water-based cans suit most rooms. They are low odor, your tools come clean with water, and both knockdown cans named here use a water base. The color-changing orange peel is water-based too, and its blue-to-white change helps a great deal on your first patch.
The oil-based orange peel trades that convenience for speed. Its label gives five minutes to tack free, an application range of 60 to 85 degrees Fahrenheit and coverage of 110 square feet for the 20-ounce can. Use it with fresh air moving through the room, keep it away from children, and follow the cleanup directions printed on the can.
The dust from the patch underneath
The texture goes on wet, but the patch beneath it comes off as dust. NIOSH notes that drywall joint compounds are made from talc, calcite, mica, gypsum and silica, and that some of these irritate the eyes, nose, throat and airways. In one NIOSH evaluation, workers sanding drywall were exposed to as much as 10 times the OSHA limit of 15 mg/m³ for total dust.
A single patch raises far less dust than a working day of sanding, but the same habits apply. Sand only what the repair needs, wear a mask, and pick up the dust with a damp rag rather than a broom.
Storing and getting rid of the cans
Spray texture is an aerosol. The U.S. Fire Administration counts an average of 1,700 home fires a year caused by spontaneous combustion or chemical reaction, and it advises never storing anything that can cause a fire in the sun or near an open flame or heat source. A hot garage shelf beside the furnace is the wrong place for a half-used can.
Store the cans out of reach of children as well. The National Institute on Drug Abuse lists spray paints and other aerosols among household products misused as inhalants, most often by younger adolescents. It warns that sniffing them can cause fatal heart failure within minutes, even the first time.
When the job is done, keep leftover cans out of the trash. USFA warns that aerosol cans thrown away with household garbage can explode or start a fire. EPA counts leftover paints and similar products as household hazardous waste that stays in its original labeled container and never goes down the drain. Your local waste agency can tell you when and where it collects them.
| Can | Base | Size | Coverage on the label | How you adjust it |
|---|---|---|---|---|
| Orange Peel, water-based | Water | 10 oz or 20 oz | Up to 90 sq ft (10 oz) | Rotating nozzle, fine to heavy |
| Color-Changing Orange Peel | Water | 16 oz | See the can | Fine to heavy, blue wet and white dry |
| Orange Peel, oil-based | Oil | 20 oz | 110 sq ft | Fine to heavy, tack free in 5 min |
| Knockdown, water-based | Water | 10 oz | Up to 30 sq ft | Medium to heavy knockdown |
| Pro Grade Orange Peel, oil-based | Oil | 25 oz | Up to 125 sq ft | Spray tip and pressure |
| Pro Grade Knockdown, water-based | Water | 25 oz | See the can | Spray tip and pressure |
Every can and kit named here is part of the Homax lineup.