

Project guide
Patch a hole in drywall with a Homax self-adhesive patch
A self-adhesive patch bridges the hole, and thin coats of spackling, each wider than the last, hide it. Then a wall guard goes on, so the doorknob that made the hole does not make it twice.
By the editors of Homax Repair Guide · Published October 3, 2026
A hole the size of a doorknob is too big to fill with spackling alone, because there is nothing behind it to hold the filler. A self-adhesive patch solves that. It sticks over the hole and gives the spackling a surface to grip. What was a carpentry job becomes a feathering job: an hour of actual work, spread over a day of drying.
Homax makes these patches in galvanized steel with fiberglass mesh, and in a pre-plastered mesh that hardens once water activates it, for drywall and plaster alike. You will also need two knives, a sanding pad and some patience between coats. If your house was built before 1978, read the section on lead paint before you cut or sand anything, because the paint around the hole may contain lead.
What you need
Tools
- Utility knife
- Damp sponge and a clean cloth
- Sanding pad or damp sanding sponge
- Flashlight
- Safety glasses
- HEPA vacuum and plastic sheeting for homes built before 1978
Step by step (8)
Step 1
Trim the edge of the hole
- Cut away torn paper and crumbled gypsum with a utility knife until the edge is firm all the way round.
- In a house built before 1978, mist the edge with water before you cut and catch the bits on plastic, because that edge is old paint.
- Wipe the wall around the hole with a damp sponge and let it dry, so the adhesive lands on clean paint instead of dust.
Step 2
Size the patch to the hole
- Hold the patch over the hole before you peel anything. Its edges should rest on sound drywall on every side, with the hole well inside them.
- The 4 x 4 in galvanized steel patch, reinforced with fiberglass mesh, covers a doorknob hole. The 6 x 6 in pre-plastered mesh patch takes a bigger hole and can be trimmed and bent to fit a corner or a curved wall.
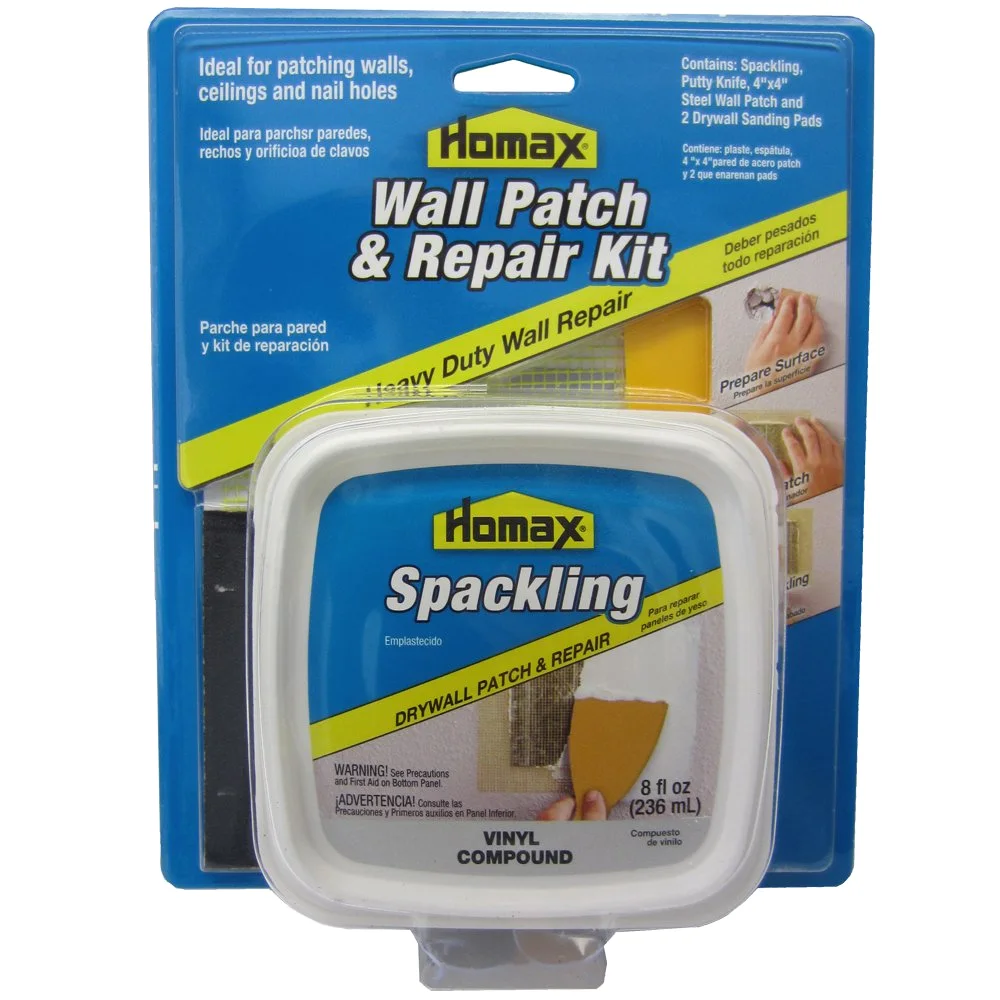
- For a first repair, the Homax Drywall Patch and Repair Kit holds everything in one box. Inside are the 4 x 4 in steel patch, 8 fl oz of vinyl spackling, a 3 in putty knife and two sanding pads.
Pro tip: When a hole falls between two sizes, take the bigger patch. A patch that only just covers the hole leaves you nothing solid to press its edges onto.
Step 3
Stick the patch on
- Peel the backing and press the patch on centered over the hole, smoothing from the middle outward so the edges lie flat.
- The pre-plastered mesh hardens in minutes once water activates it, so follow the order of steps printed on its package and have everything ready first.
- Run your fingers around the border once more. A lifted corner turns into a bump under every coat that follows.
Step 4
Spread the first coat
- Load the 3 in knife with spackling and pull a thin coat over the whole patch, running a little past its edges.
- Hold the blade low and press hard enough to fill the mesh without building a hump over the steel.
- Let it dry for the time on the label before you touch it again.
Step 5
Feather each coat wider
- Switch to the 8 in knife for the second coat and spread it a few inches past the first, with more pressure on the outer edge of the blade.
- Every coat goes on wider and thinner than the one under it, so the patch fades into the wall instead of standing proud of it.
- Two or three coats cover most doorknob holes. Let each one dry for the full time on the label.
Pro tip: Hold a flashlight flat against the wall and shine it across the patch. Ridges and dips throw shadows long before paint would show them.
Step 6
Sand lightly
- Knock down ridges with a sanding pad or a damp sanding sponge, using light strokes and little pressure.
- Stop when the edges feel flush under your fingertips. Sanding through to the paper face around the patch raises fuzz that shows through paint.
- In a home built before 1978, skip dry sanding altogether and follow the lead-safe steps further down.
Step 7
Prime, texture and paint
- Wipe off the dust with a damp cloth and prime the patch, so the paint over it dries to the same sheen as the rest of the wall.
- On a textured wall, add the texture after the primer and before the paint.
- Paint the patch and carry the paint a little past the primed area on every side.
Step 8
Guard the spot
- Once the paint is dry, peel and stick a wall guard where the doorknob lands.
- Paint over the guard if you want it to blend into the wall.
Homes built before 1978: test or assume lead
The federal government banned lead-based paint for homes in 1978, and EPA says about three-quarters of U.S. homes built before then still contain some lead-based paint. Trimming the torn edge of a hole and sanding the coats both disturb the paint around it. EPA warns that renovation which disturbs old paint can create large amounts of lead dust, and young children are the main concern.
For owners working on their own homes, EPA's advice is to have the surface tested by a certified inspector or to assume lead paint is there. Seal the work area with plastic sheeting, close the doors, turn off the heating or air conditioning and cover the vents. Wear a disposable N-100 respirator, eye protection and gloves, and do not eat or drink in the room. Mist the surface before you scrape or sand, use wet-dry sandpaper, and clean up with a HEPA vacuum and wet wipes until a wipe comes away clean.
Two habits to drop on old paint are dry sanding and steel wool. EPA says not to clean painted surfaces with steel wool or abrasive cleaners, and to fix small damaged areas under 6 square feet without sanding where you can. If you pay someone else to do the work, EPA's renovation rule requires that person to be lead-safe certified.
Dust from sanding the patch
Even in a newer house, the sanding step deserves respect. NIOSH lists talc, calcite, mica, gypsum and silica as ingredients of drywall joint compounds, and some of them irritate the eyes, nose, throat and airways. Breathing the dust over time may cause persistent irritation, coughing and asthma-like trouble breathing. A NIOSH evaluation found drywall sanders exposed to as much as 10 times the OSHA limit of 15 mg/m³ for total dust.
A doorknob patch needs far less sanding than a taped seam, and most of the smoothing happens with the knife. Pull the last coat thin and flat, and the sanding pad only has to take off the ridges. Close the door, lay plastic under the wall, and wipe the dust up damp instead of sweeping it into the air.
Stop the doorknob from doing it again
A round hole behind a door at knob height has an obvious cause, and the patch does nothing to stop it from coming back. The 3-1/4 in Homax wall guard sticks on where the knob lands, and its foam backing absorbs the knock of the opening door. You can paint or wallpaper it to match the wall, so it reads as part of the surface.
For a larger lever or handle, the 5 in guard comes six to a pack and can also cover an existing hole while you wait to patch it. A stop on the baseboard or the hinge pin works from the other side, and on a door that gets flung open, use both.
When the wall has texture
A smooth patch on an orange peel or knockdown wall shows up as a flat spot the moment light crosses it. Prime the patch first, then match the texture before you paint. The pre-plastered mesh patch is made for smooth, textured, curved or uneven surfaces, so it sits well under a textured finish. Our guide to matching orange peel and knockdown texture covers the aerosol cans, the test spray on cardboard and the timing of the knockdown knife.
| The damage | What to reach for |
|---|---|
| Nail holes and narrow cracks | Spackling and the 1-1/2 in putty knife, no patch needed |
| A doorknob hole in drywall or plaster | 4 x 4 in galvanized steel patch with fiberglass mesh, self-adhesive |
| A bigger hole, or one on a curved or textured wall | 6 x 6 in pre-plastered mesh patch, two to a pack, hardens with water |
| Torn drywall around a moved outlet or switch box | Homax Outlet Patch |
| A hole in the ceiling | 6 x 6 in perforated aluminum ceiling patch |
| A first repair with nothing on hand | Drywall Patch and Repair Kit: steel patch, 8 fl oz spackling, 3 in knife, two sanding pads |
The patches, knives and wall guards named here are all part of the Homax home repair line.